Tutorial: Posting Pictures on PDD
Here's a little guide to posting photos on this blog.
You can find the basics here in this tutorial.
But what if you have a picture that is over 500 pixels wide? One solution is to make a "Popup Image" instead of an Embedded Image. This will provide a text link to the image and it will open in a new window.
But suppose you want to do an embedded image, like I have here, that's too large...
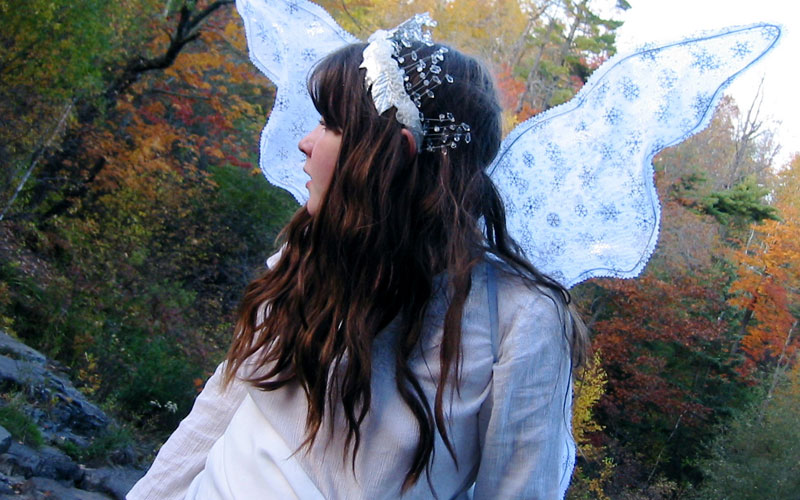
This image is too large for the blog frame and so you can't see the right most part of it. When I look at the code it shows that the width is 800 pixels. The frame can only hold about 500 pixels so I can reduce the width to 500 to make it fit.
Oops! I forgot to adjust the height as well. You could do some basic ratios and figure out what 800:500::500:### is, but who wants to do math? The simplest thing to do is just to eliminate the height and it will constrain proportions so that it auto-adjusts. I'll do that here.
There we go. Another solution is just to put "100%" in for the width and it will auto-adjust to any frame it is in. I'll do that here.
Sometimes you want to have a smaller photo to accompany a story. You can adjust your photos to whatever width you want, making them smaller or, if needed, larger. Making photos larger is not recommended though as they will lose resolution.
I can align the photo right or left by just typing align="right" or align="left" into the img html. This isn't as hard as it sounds and it can make your post look very nice having text wrap around the photo. I did the photo to the right by using align="right". I also put in the img html hspace="10". This creates a horizontal buffer of 10 pixels on either side of the photo.
I aligned this photo to the left and didn't use the hspace on this photo and you can see what happens. The text can butt right up against the photo and sometimes it makes the text difficult to read. When you use align="left" or align="right" it is a good precaution to also use hspace="#".
Happy picture posting!
Posted by
 ironic1 on July 23, 2007 10:14 PM | Permalink
Comments
Thank you! Requirements have been posted in the past but these are foolproof.
Posted by: heysme | July 24, 2007 10:12 AM
By the way, just in case anyone wondered, that's my daughter Emma in the photo doing some modeling for my friend Maria.
Posted by: ironic1 | July 24, 2007 10:24 AM
These instructions will work, but if your photo is HUGE to begin with (like an unedited image directly off your 6-megapixel camera) the FILE SIZE will still be enormous, and will slow down or break the page, expecially for people with slower internet connections.
The best method is to make the width 500px or less BEFORE you upload the picture, using Photoshop or whatever image-editing software you have on your computer.
Posted by: Barrett | July 24, 2007 01:56 PM
She looks like the girl from the Bugaloos!
Posted by: skud | July 25, 2007 04:53 PM
maintain quality - use photoshop
Posted by: boywonder | July 26, 2007 04:49 PM
Cute kid! And thanks for the pic tutorial, I looked at the pic and said oh no, that's Eve, what's happened to Kat Kitten and her other bodycat Ebby?
Posted by: CK | September 18, 2007 06:31 PM